When it comes to desserts that have stood the test of time, few can match the simplicity and universal appeal of classic homemade vanilla ice cream. This delightful frozen treat has graced the tables of countless generations, offering a rich, creamy canvas for endless creativity. In this article, we’ll explore the art of crafting the perfect batch of classic homemade vanilla ice cream, from the essential ingredients to the meticulous process that transforms them into a luscious dessert.
The Allure of Homemade Vanilla Ice Cream

Before we dive into the culinary journey of making classic vanilla ice cream at home, let’s take a moment to appreciate what makes it so special:
- Pure Simplicity: Vanilla ice cream’s base is a testament to the beauty of simplicity. It relies on just a handful of quality ingredients to create a rich and comforting dessert.
- Customizable Canvas: Vanilla ice cream serves as a blank canvas for a multitude of toppings, mix-ins, or pairings. From a drizzle of hot fudge to the addition of fresh fruit or crushed cookies, you can tailor each serving to your heart’s desire.
- Nostalgia and Comfort: For many, the taste of homemade vanilla ice cream evokes cherished memories of childhood summers, family gatherings, and carefree moments.
- Versatile Pairing: It pairs impeccably with an array of desserts, turning a simple scoop into the perfect complement to pies, cakes, cobblers, and more.
Now, let’s explore how to make this timeless treat in your very own kitchen.
Ingredients for Classic Homemade Vanilla Ice Cream
Before you begin, ensure you have the following high-quality ingredients:
- Heavy Cream: This forms the base of the ice cream, providing richness and a luxurious mouthfeel.
- Whole Milk: To balance the richness of the cream and create a smooth texture.
- Granulated Sugar: Essential for sweetness and creating the ice cream’s signature creamy texture.
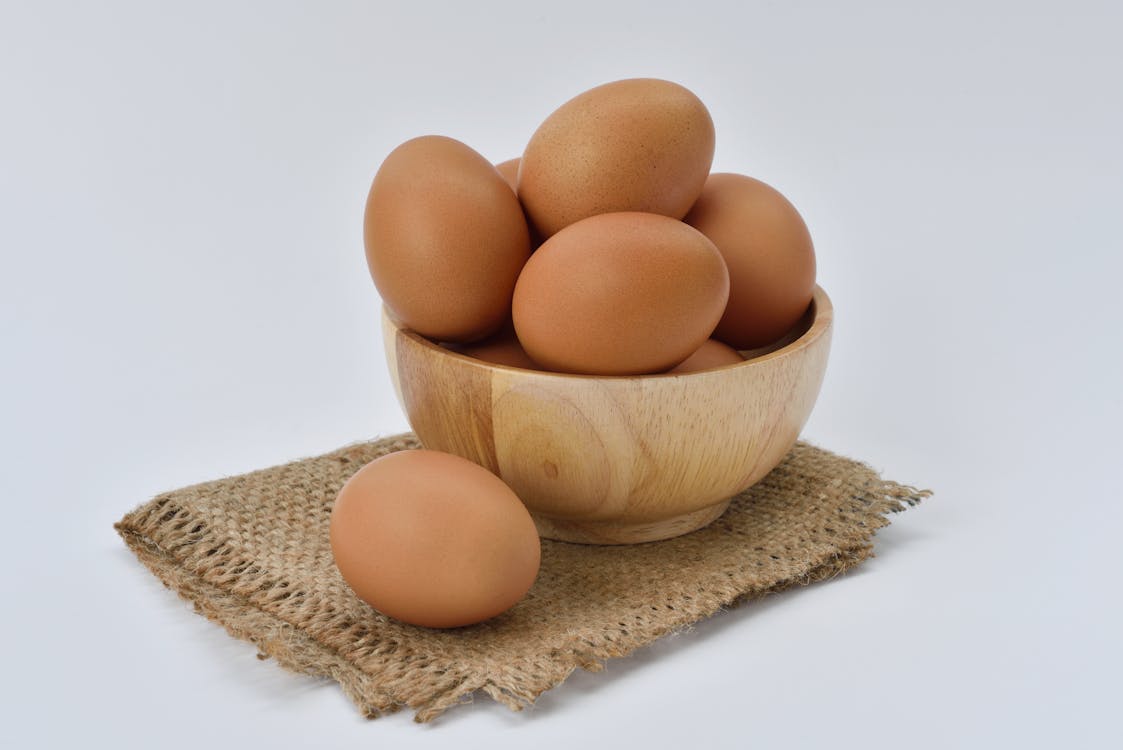
- Egg Yolks: These add richness, enhance the texture, and create a velvety finish.
- Vanilla Extract: The star of the show, vanilla extract imparts its warm, aromatic flavor throughout the ice cream.
- A Pinch of Salt: Just a touch to elevate and round out the flavors.
- The Method: Crafting Classic Vanilla Ice Cream
Now, let’s explore the step-by-step process of creating classic homemade vanilla ice cream:
Step 1: Preparing the Custard Base

Begin by combining the heavy cream and whole milk in a saucepan over medium heat. Warm the mixture, stirring occasionally, until it reaches a gentle simmer. Do not let it boil.
Step 2: Whisking the Eggs and Sugar
While the cream and milk mixture is heating, whisk together the egg yolks and granulated sugar in a separate bowl until they become pale and slightly thickened. This creates the custard base of the ice cream.
Step 3: Tempering the Eggs

Gradually, and while continuously whisking, pour a small amount of the hot cream and milk mixture into the egg yolk mixture. This process, called tempering, prevents the eggs from curdling when introduced to the hot liquid. Continue to slowly add the hot mixture until the egg yolk mixture is warmed.
Step 4: Cooking the Custard
Return the combined mixture to the saucepan and cook it over low heat, stirring constantly, until it thickens enough to coat the back of a spoon. This usually takes about 5-7 minutes. It’s crucial to be patient during this step, as it ensures a smooth, custardy texture.
Step 5: Adding Vanilla and Salt

Once the custard base has thickened, remove it from the heat and stir in the vanilla extract and a pinch of salt. The vanilla extract should be of high quality to impart a rich, authentic flavor.
Step 6: Chilling the Mixture
Pour the custard into a clean bowl and cover it with plastic wrap, ensuring the wrap touches the surface of the custard to prevent a skin from forming. Chill the mixture in the refrigerator for at least 3-4 hours or, ideally, overnight. This resting period allows the flavors to meld and intensify.
Step 7: Churning and Freezing

Once the custard is thoroughly chilled, it’s time to churn it into ice cream. Follow the instructions of your ice cream maker for churning. This usually takes 20-30 minutes, and the ice cream will gradually thicken and freeze.
Step 8: Storage and Enjoyment
Transfer the churned vanilla ice cream into an airtight container and freeze it for an additional 3-4 hours, or until it’s firm enough to scoop.
When it’s time to serve, scoop the classic homemade vanilla ice cream into bowls or cones, and enjoy it plain or with your favorite toppings. Whether you savor it as a standalone delight or use it as the perfect accompaniment to other desserts, each bite will transport you to a world of timeless comfort and joy.
Classic homemade vanilla ice cream is a testament to the enduring appeal of simple pleasures. Crafting this iconic dessert at home not only allows you to control the quality of ingredients but also infuses each scoop with the warmth of nostalgia and the joy of creation. So, whether you’re celebrating a special occasion or simply craving a moment of pure indulgence, embrace the art of making classic homemade vanilla ice cream and relish the sweet memories it brings to life.


