In the realm of frozen delights, few treats exude elegance and decadence quite like dark chocolate ice cream. A symphony of bittersweet flavors, velvety textures, and sophisticated charm, homemade dark chocolate ice cream offers a luxurious escape into the world of gourmet desserts. This article invites you to explore the captivating journey of crafting this exquisite frozen creation in the comfort of your own kitchen.
The Allure of Dark Chocolate Ice Cream

Dark chocolate ice cream stands as a testament to the art of balance. It marries the intensity of premium dark chocolate with the creaminess of ice cream, resulting in a harmonious blend that awakens the senses and gratifies the palate. Here are a few reasons why dark chocolate ice cream holds a special place in the hearts of dessert enthusiasts:
- Refined Flavor Profile: Dark chocolate’s deep, complex flavors are the star of this dessert. Its bittersweet notes provide an experience that’s simultaneously rich and sophisticated.
- Texture Par Excellence: Homemade dark chocolate ice cream boasts a smooth, velvety texture that envelops the taste buds in a comforting embrace.
- Endless Versatility: While dark chocolate ice cream is exceptional on its own, it also serves as a versatile base for a multitude of toppings, mix-ins, and pairings.
- Gourmet Indulgence: Serving a scoop of homemade dark chocolate ice cream is akin to presenting a gourmet masterpiece, elevating even the simplest occasions.
Crafting the Perfect Homemade Dark Chocolate Ice Cream
To embark on the journey of creating your own batch of homemade dark chocolate ice cream, gather these essential ingredients:
- Quality Dark Chocolate: Choose premium dark chocolate with a high cocoa content for depth of flavor. The better the chocolate, the richer the final product.
- Cocoa Powder: Unsweetened cocoa powder amplifies the chocolate intensity and adds a depth of color.
- Heavy Cream: This forms the base of the ice cream, lending its luxurious creaminess.
- Whole Milk: To balance the richness of the cream and create a smooth texture.
- Granulated Sugar: Essential for sweetness and achieving the ice cream’s signature consistency.
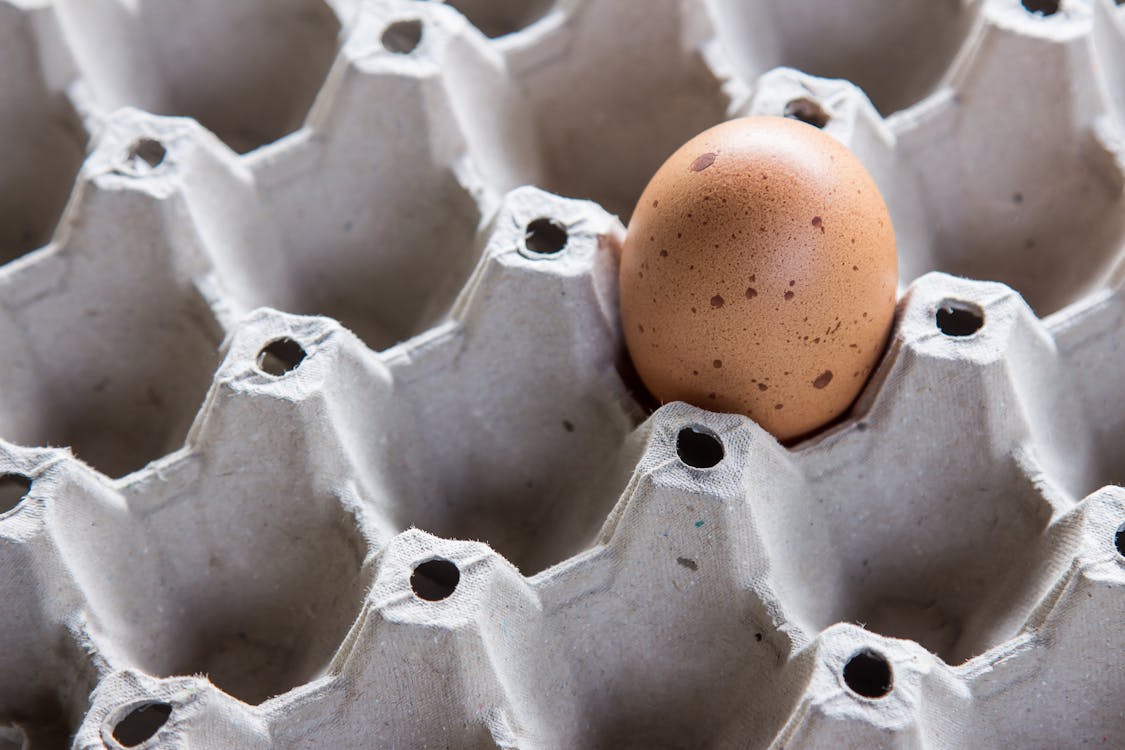
- Egg Yolks: These add richness, enhance the texture, and lend a velvety finish.
- Vanilla Extract: A touch of vanilla enhances the chocolate flavor.
- A Pinch of Salt: Just a hint to elevate and round out the flavors.
The Method: Crafting Dark Chocolate Elegance

Now, let’s delve into the step-by-step process of creating a decadent batch of homemade dark chocolate ice cream:
Step 1: Chocolate and Cocoa Fusion
Begin by melting the dark chocolate in a heatproof bowl set over a pot of simmering water, creating a luscious, velvety chocolate sauce. Gradually whisk in the unsweetened cocoa powder until the mixture is smooth and cohesive.
Step 2: Preparing the Custard Base

In a separate saucepan, combine the heavy cream and whole milk. Warm the mixture over medium heat until it reaches a gentle simmer, being careful not to let it boil.
Step 3: Whisking the Eggs and Sugar
While the cream and milk mixture is heating, whisk together the egg yolks and granulated sugar in a separate bowl until they become pale and slightly thickened. This step lays the foundation for the custard base.
Step 4: Tempering the Eggs

Gradually pour a small amount of the hot cream and milk mixture into the egg yolk mixture, whisking continuously. This tempering process prevents the eggs from curdling when introduced to the hot liquid. Slowly add more of the hot mixture until the egg yolk mixture is warmed.
Step 5: Merging the Chocolate and Custard
Now, pour the chocolate and cocoa mixture into the custard base and stir well to combine. This union forms the essence of the dark chocolate ice cream.
Step 6: Cooking the Custard

Return the combined mixture to the saucepan and cook it over low heat, stirring constantly, until it thickens enough to coat the back of a spoon. This process takes about 5-7 minutes and ensures the ice cream’s creamy texture.
Step 7: Infusing Vanilla and Salt
Once the custard base has thickened, remove it from the heat and stir in the vanilla extract and a pinch of salt. These additions heighten the overall flavor profile, creating a symphony of taste.
Step 8: Chilling and Maturity

Pour the custard into a clean bowl, cover it with plastic wrap (ensuring it touches the surface), and refrigerate it for at least 3-4 hours or overnight. This resting period allows the flavors to meld and mature.
Step 9: Churning and Freezing
Once the custard has matured, it’s time to transform it into ice cream. Follow your ice cream maker’s instructions for churning. In approximately 20-30 minutes, the ice cream will thicken and freeze.
Step 10: The Grand Finale

Transfer the churned dark chocolate ice cream into an airtight container and freeze it for an additional 3-4 hours, or until it reaches the perfect scoopable consistency.
Serving and Appreciating the Artistry
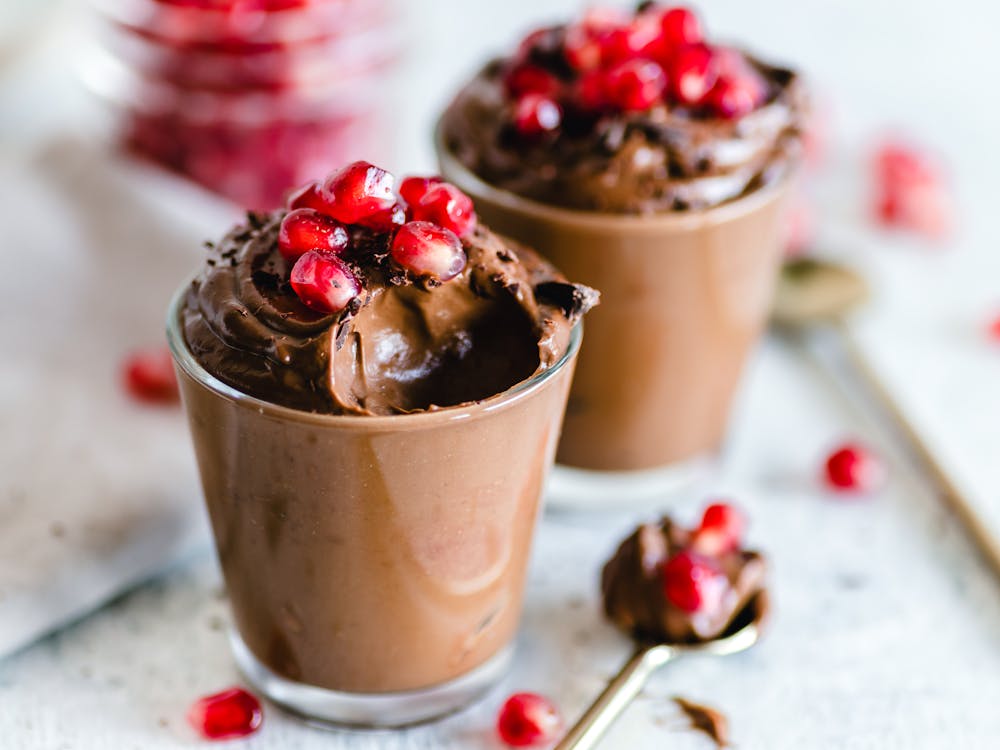
When it’s time to serve, scoop the homemade dark chocolate ice cream into bowls or cones, and revel in the captivating harmony of bittersweet flavors and velvety textures. Consider garnishing with shaved dark chocolate, a sprinkle of cocoa powder, or a dollop of freshly whipped cream to enhance both presentation and taste.
Homemade dark chocolate ice cream is an embodiment of gourmet indulgence, created with care and passion in your very own kitchen. As you savor each spoonful of this captivating dessert, you’re not just enjoying a frozen treat; you’re experiencing a symphony of flavors and textures that dances across your palate. So, whether you’re celebrating a special occasion or simply indulging in a moment of personal luxury, the allure of homemade dark chocolate ice cream is ready to awaken your senses and remind you of the enchanting possibilities within every scoop.


